Expert Advice and Aftersales
 Free UK Delivery*
How to Change the Recoil Start on Your Hyundai Petrol Lawn Mower
After extended use of your lawn mower, you might find that your recoil-start will stop working; the pull-cord may go slack, it may get stuck completely, or simply will fail to start your mower as normal.
But fear not! Changing your mower’s recoil start is incredibly simple to do and will get you back mowing your grass in no time at all, with minimal tools required – for most Hyundai petrol lawnmowers, all you’ll need is a 10mm spanner or socket.
So, how do you replace the recoil-start on your Hyundai petrol lawn mower?
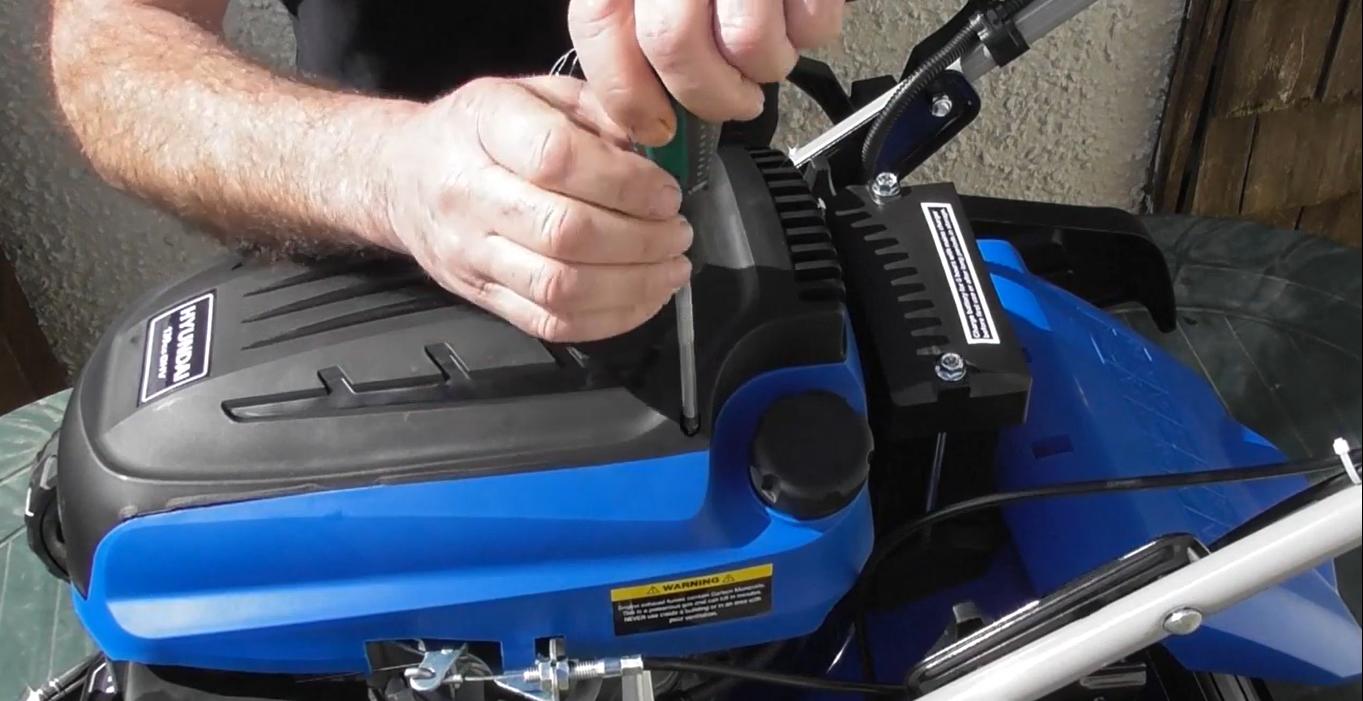
The first step is to remove the two screws that hold the top black plastic cover in place. With a crosshead screwdriver, turn the screws anti-clockwise and put them to one side.
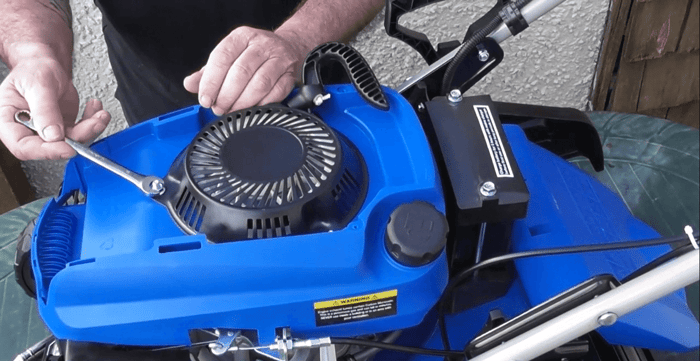
You’ll then need to lift the black plastic cover from the back and gently pull it away and off the lawn mower, revealing the recoil pull-starter beneath.
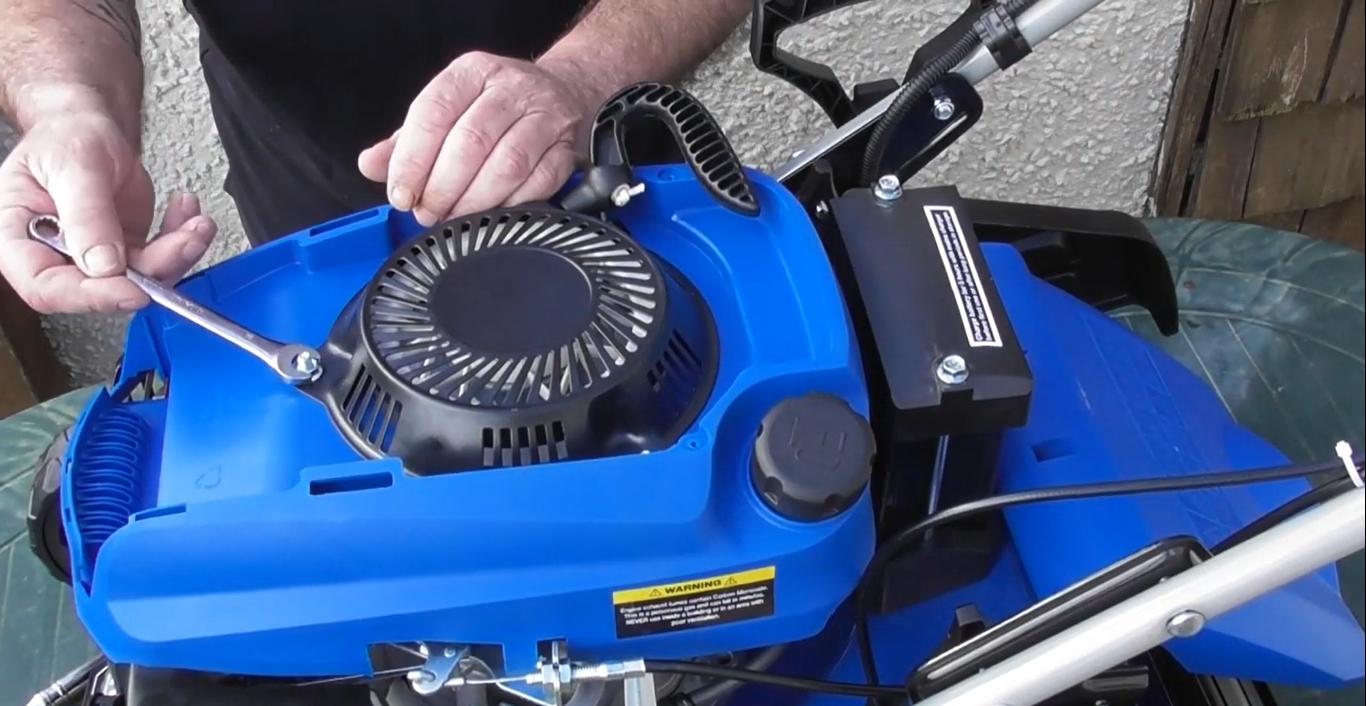
Next, use a 10mm spanner to remove the 3 visible nuts anti-clockwise. As the nuts are in a recess, you might find it easier to remove them with a socket.
Then remove the old, broken recoil unit by gently pulling it up and off the top of the mower. Make a note of which side the recoil lies, as the recoil can quite often fit in any direction on the 3 bolts. You need to place the new recoil start in the same position as the one you are removing from your mower
Replacement recoil units are readily available from our parts department, or you buy them online here and here.
How to refit a new recoil start
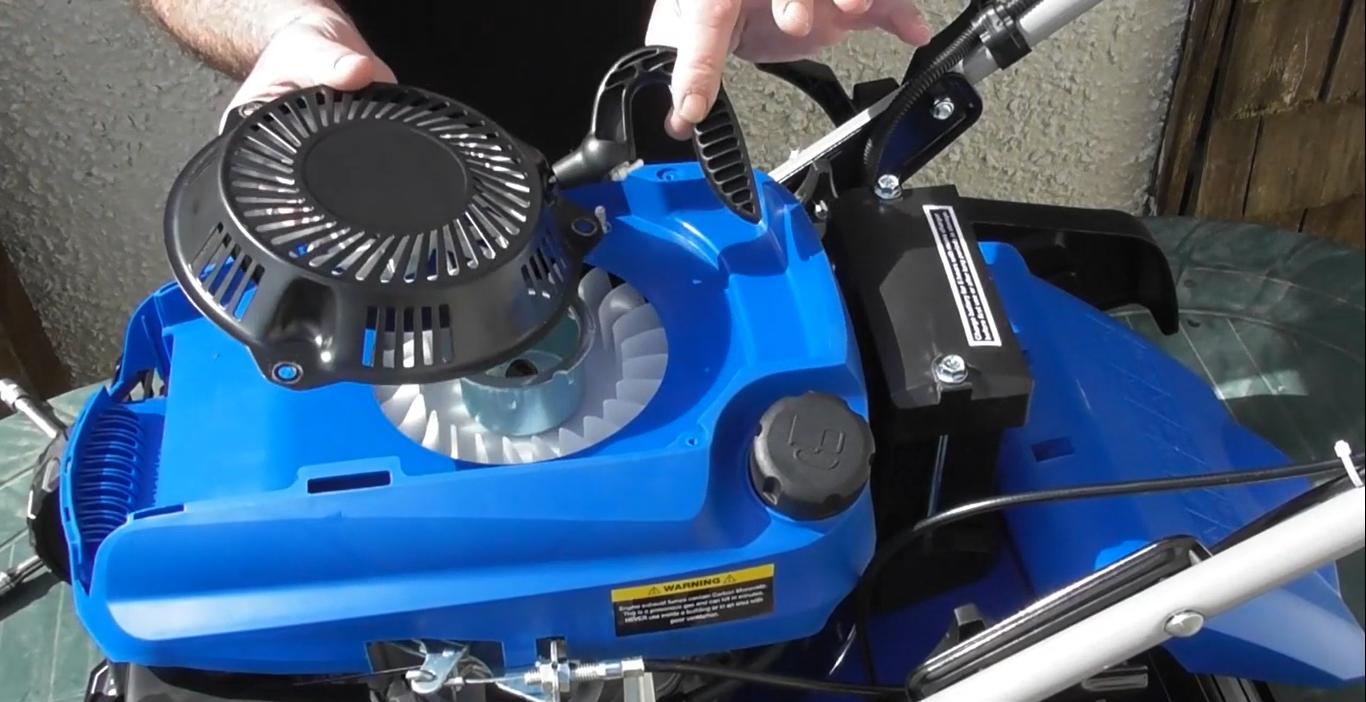
There are three evenly spaced bolts so it’s important to understand which way to fit your recoil start back on.
You’ll want the recoil start handle to be back in the same place it was with your old recoil start – easily accessible, hanging out the side of the chassis.
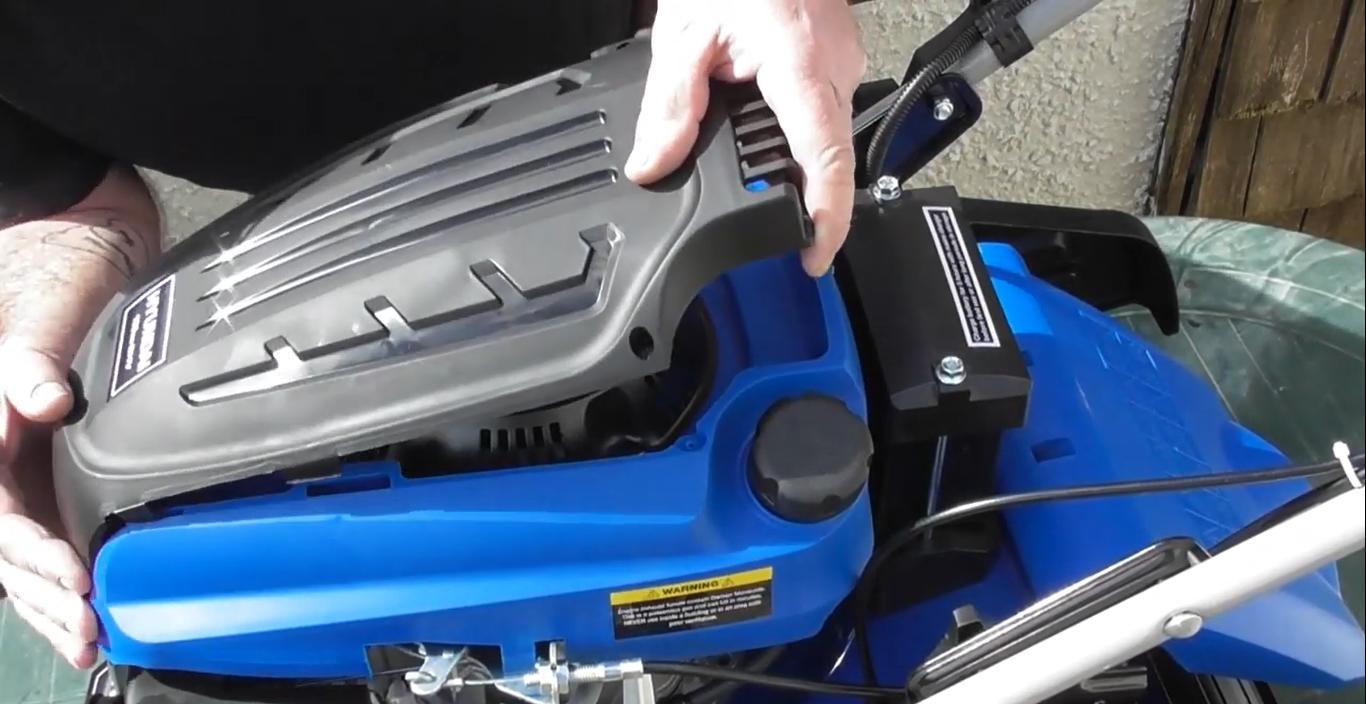
Next, you’ll need to replace the 3 nuts and tighten them firmly. Refit the black plastic cover by placing it in front to back with each of the lugs fitting into the slots. Replace the 2 screws and voila! You’re all done and can get back to mowing your lawn.
For any further help, watch our help video below or by clicking here.
We hope you’ve found this guide helpful and remember: if you need any further buying advice, our team of experts is on-hand to help you so just get in touch!
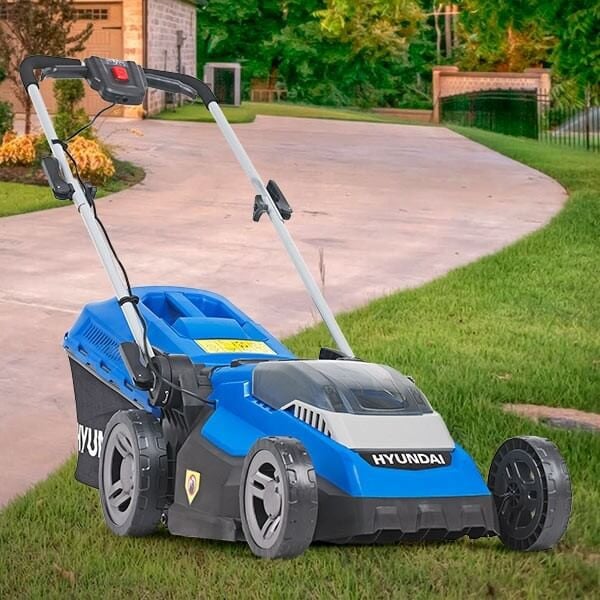
Click here to see our full range of lawn mowers available. For expert advice, to request a new part or for any questions you may have, you can give us a call on 01646 687880, fill out the contact form here or drop us a message on any of our social media pages - Facebook, Instagram or Twitter.